C. acaule

Slippertalk Orchid Forum

Help Support Slippertalk Orchid Forum:

This site may earn a commission from merchant affiliate links, including eBay, Amazon, and others.
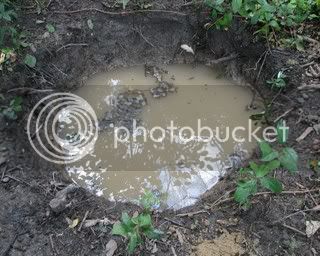
This is the hole that was dug for me. You can see the solid clay starting at about 6-8" from ground level right where the water line is. I came home to this slop mess. I had to use buckets to get the water out and then I realized that the hole wasn't going to work so I began making it larger myself. I dug out another 8-10" all the way around and then I dug down into the clay another 18" deeper. I have no idea what the total volume of the hole ended up being but I needed drainage in the event we ever ended up with horrible rains again such as what we had recently. You can't see it but there is a 3" pvc pipe running from about 8" below ground level off about 10' away so that the hole will never be able to fill up with water beyond that point.

img_0590.jpg
 
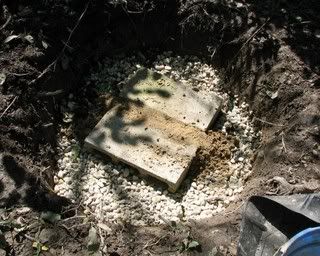
It wasn't until after I loaded the bottom of the hole with about 10 qallons of river rock gravel that I began realizing I should really add the pvc to drain water away from the hole. Here was where I placed concrete blocks for the bottom of the preform to rest on so that I could level it. The hole is actually a lot bigger than it looks. Those are the jumob concrete blocks down there at the bottom.

img_0003_01.jpg
 
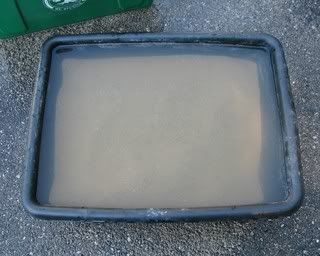
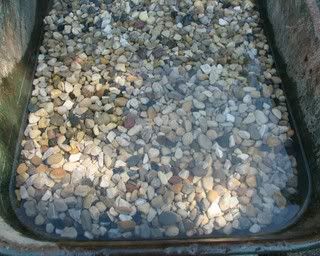
Next step was to go back to rinsing the sand. With all I have read, I decided to rinse all my materials until the water ran clear. I've seen where these plants grow and I doubt seriously if the contaminants and heavy metals are present in concentrations as they are around here and we take such care to water our plants with rain water that this didn't seem like a process I wanted to skip being as how the coarse sand was going to get mixed into my mediums. Rinsing sand sucks and it takes about 12-15 flushes to get the water to run clear.

img_0009_01.jpg


That photo was about 5 flushes away from running clear.
 
I rinsed a lot of sand. I rinsed sand under the flood lights until I was ready to drop. I have lost a lot of hair from my arms from swishing it around to get it to run clear.

img_0004_01.jpg
 
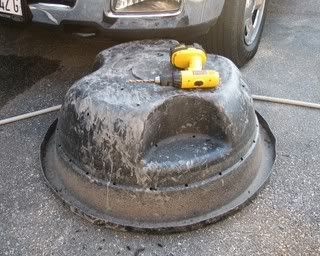
Next step was to drill holes in the liner. I knew I was going to raise it out of the ground by 8" based on the Cribb's writings sent to my be Parvi and also based on his recommendation that these be in a raised bed so I based my holes on where the preform would ultimately rest above grade-

Drilling was easy. The bit pops right through after it slides around a bit from side to side then comes to rest before going through the rigid plastic.

img_0011_01.jpg


I feel relatively confident I have enough holes at the right heights.
 
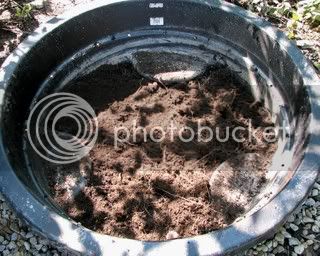
I set the pre-form in the ground and began wheel barreling the gravel over to fill in around the edge. From there I placed about 4" of pea gravel in the bottom of the pre-form. From there I created a layer of pea gravel and a humousy soil mix. That layer of mix was about 10" or so.

img_0012_01.jpg
 
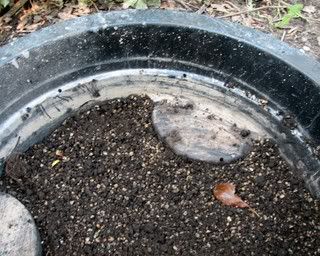
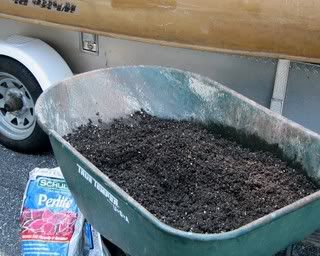
Next I mixed up some more of the soil from up north with about 5 gallons of perlite and 5 gallons of that humousy soil again.

img_0015_01.jpg


I ended up adding two more bags of perlite because it didn't look right to me.
 
I added that layer which was only about 8" or so and then watered it down heavily with parvi's mix of 2 Tblsp cider vinegar to 1 gallon of water.

img_0017_01.jpg


I went to start testing the soil and found that my Ph tester wasn't calibrating properly. I will never buy another Oakton pH meter again in my life. Those things are too fussy no matter how good of an instrument they claim to be. I quick fast went online and ordered a brand new pH meter. I ordered the Bluelab Truncheon. I'd been meaning to do that for a while anyway. Hope it gets here soon so I can start checking the pH.
 
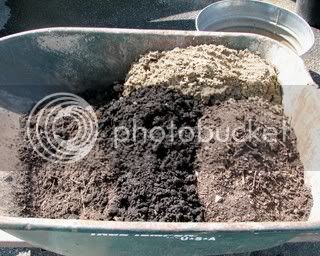
Next layer was a really great mix of about 4 gallons of the soil from up north, 4 gallons of coarse sand, 5 gallons of soil from the site where the acaule came from, and 4 gallons of that humousy soil. I wanted a fast draining medium for this layer.

img_0018_01.jpg


I mixed all of these mixes by hand to make sure it was all thoroughly mixed. I get concerned about perlite compressing over time and definitely wanted that previous layer mixed well.

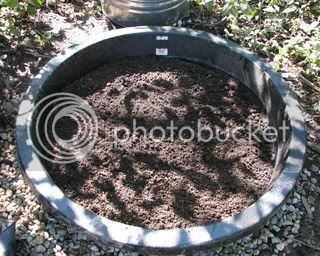
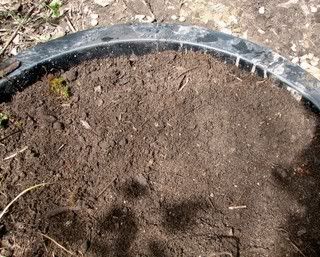
Here's where I spread out the upper layer-

img_0019_01.jpg
 
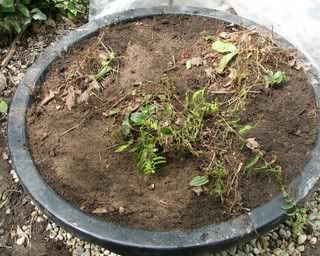
Lastly I began positioning the plants along with the soil they came with. I mounded them up per parvi as well as other resources I tapped into online.

img_0020_01.jpg


I watered these in well using the cider vinegar. The pH in the area the plants came from was 4.5 so that's what I'm going for.
 
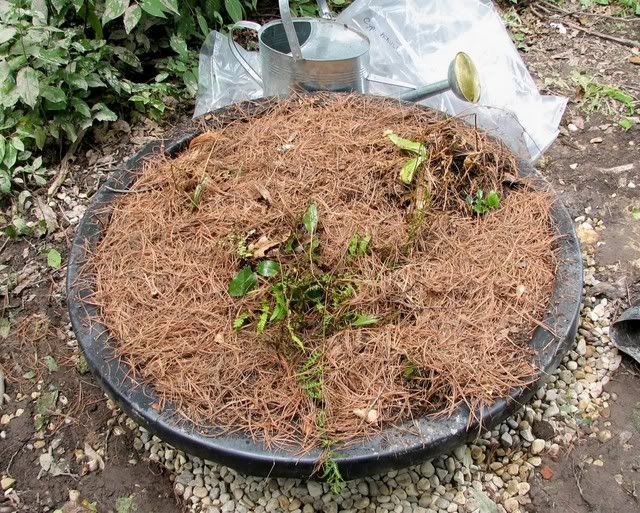
Here's parvi's layer of pine needles and duff that I collected from up north. I have more set aside.

img_0021_01.jpg


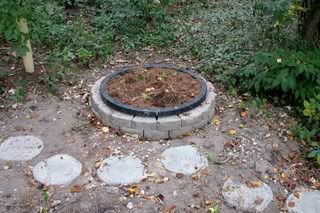
Total for the preform was about 37 gallons not the 34 stated on the label when the preform was given to me. That pre-form is 8" above grade. I know it doesn't look like it from the angle I took the photo but it is raised up and out of the ground.

I've done my homework and gotten help and advice from the best of the best so I hope these plants live. I've spent from dawn to dusk for the past few days preparing the area for these plants based on all I have learned and in consideration of my site and I've done my best. My best may not be good enough. I am tired, my body is sore from hauling material around in the wheelbarrel back and forth to the site, and I feel like doing a face plant right about now. I've probably sweated off a gazillion pounds. I am the dark horse I guess which is why I had only wanted one of these plants to start with not four and even then I wanted to put off trying one of these because they are too touchy and nobody seems to be able to get them to live beyond 3 years other than parvi.

I treated myself to the purchase of two parviflorum that will be delivered this fall. I figure those won't fail me and at least if my acaule die (odds are not with mine living based on everything I've read), I'll have the two parviflorums to look forward to blooming next spring as well as the two ariatium I ordered a bit ago for delivery next spring. Then if my acaule die, parvi can maybe work with me and tweak what I did based on my above photo documentation of the process so I can try acaule again and again until I get it right. Here's the big problem- My friend who gave them to me as a gift stated there were more where those came from and that if I don't take them and keep trying to grow them, they'll just be left to be bulldozed. He's got some sort of a permit to remove the plants before the widening of the road starts and his group was just granted a one year extension to go back in and get more plants. I guess the construction company and all of its sub contractors is not happy with his conservation group- oh well. These plants mean a lot to them. I didn't know that. They want me to try my best to get them to live to preserve the genotype. That's why they gave me four not one. That's why they have given these plants to other personal friends to try their best so that somebody may have success. Great, I'll feel even worse if something happens to them. I'm going to stake chicken wire around them so deer don't eat them next and maybe I better drape some fruit tree netting over them so squirrels don't scale the chicken wire to bury their nuts and acorns in there. That's all I need is a squirrel uprooting one of those plants while I'm out and about.

parvi, if you see anything I could do better, please let me know. I have no problems digging everything up to get to a layer that might need to be tweaked. It's ok if I did something wrong, just let me know so I can correct it to the best of my ability.

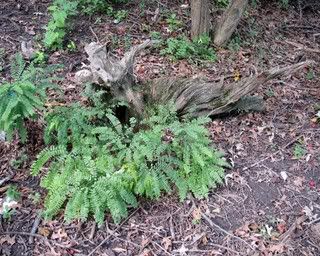
Here's the area I scoped out to plant the parviflorum (my treat to myself for getting the acaule in the ground) based on my readings and seeing where they grow in the wild which quite frequently is with maiden hair ferns.
img_0591.jpg
 
Forgot to mention, I can't test the pH yet. I didn't get the new replacement probe for the Oakton and I didn't receive the new Bluelab yet. Isn't that a piss. I can't even test the pH yet.
 
Speaking of which, I need to buy a light meter to test what levels these plants are receiving. I've been using the photo meter to my camera as a general approximation but best for me to get a real photo meter for the acaule. Any suggestions? If I have to cut down a tree around the acaule to get the right level of light or if I have to plant a tree, I'll do it. I think I sited it properly based on watching the sun's path over the sky in that area throughout the course of the day but now I don't know any more.
 
Thank you. I pooled from many resources to come up with the above mediums and set up. Now all I need is a horseshoe or two to stick up my rear and I should be good to go.

I don't think they'll get sunburned, at least I hope not. I scoped out that site for a few days and walked out almost hourly. What you are seeing was morning sun then dappled sun.

I could probably pick up some litmus paper but at this point the new pH meter should be here any day.

Sounds horrible but I'm really glad they're in the ground. That was more work than I anticipated.
 
Here's an upate of the area. Little bit more work to do in and around the raised bed but not much other than hand pulling some invasives and sinking plugs in and around it.

This area will have a round chicken wire enclosure created to place over the top of it to keep cats from using it as a litter box and squirrels from burying nuts in it. So far, chipmunks have stayed away.

img_0116.jpg
 

Latest posts

Back
Top